Honey Lemon Pudding

lemon_mousse_0005.jpg

Honey Lemon Pudding
Serves 6-8

This is intentionally not a super-sweet dessert although it is deeply satisfying. As a medicinal food, lemon is remarkable. It aids digestion by stimulating the flow of saliva, thus easing the work of the liver. Avocados satisfy that creamy craving, while the ginger, dates and honey each have their own healing properties aimed at restoring our sweet tooth to a place of natural balance.


Pudding:
1 cup pitted medjool dates
4 organic lemons *
1 orange
4 ripe avocados, pitted and peeled
2 tablespoons runny local honey
1 teaspoon ground ginger

Toppings:
Zest of 1 lemon
1/4 cup shredded, unsweetened coconut flakes (roughly 1-2 teaspoons per serving)
1/4 cup chopped walnuts (1-2 teaspoons per serving)


Pit the dates. If they are too dry you may need to rehydrate them by placing in a bowl and covering with boiling water to fully submerge the fruit. Let them soak for 10 minutes, then strain the fruit. (Save the soak water to water one of your houseplants).

  1. Zest one of the four lemons before juicing and set zest aside to use as a topping. Juice the lemons and orange.

  2. Place all the pudding ingredients in a food processor. Blend until smooth.

  3. Spoon the pudding into individual dessert dishes and chill in the refrigerator for 30 minutes.

  4. Serve, garnished with lemon zest, coconut flakes and walnuts.

* Whenever a recipe calls for the rind or zest of a citrus fruit, it is vitally important to your health and the health of the planet to use organic fruit. Many fungicides and disinfectants are sprayed on the outside of non organic citrus fruits to maintain freshness in transit. Some of these are known carcinogens that are also disturbing to thyroid hormone levels.

Pumpkin Spice Cake with Cashew Cream Glaze

PUMPKIN SPICE CAKE WITH CASHEW CREAM GLAZE

Makes 1 11x7 pan, about 15 medium-sized servings, depending on how it is sliced

pumpkin_spice_bars_0058.jpg

When I was a teenager, my Dad and I would go to the mall to shop for clothes. Right next door to Windsor Fashions was The Gingerbread House. We’d order a single serving square spice cake that came with a mound of whipped cream and 2 forks for sharing. When my daughter Nicola introduced me to this cake recipe, it immediately transported me back to that time. It was a tender memory that I hadn’t thought of in decades…better than shopping for new outfits! Hope you enjoy this gluten-free cake, and if you have any cashew cream leftover, try a dollop on a bowl of fresh berries, or stir into a cup of matcha tea.


CASHEW CREAM GLAZE
Makes 1 1/2 cups

1 1/2 cups raw cashew nuts, soaked for 3-4 hours in warm water, drained and rinsed
1/4 cup unsweetened hemp milk
1/4 cup agave nectar or maple syrup
2 tablespoons refined, non-hydrogenated coconut oil
1 teaspoon vanilla extract
2 pinches himalayan salt

CAKE
3 large eggs
3/4 cup pumpkin puree
3/4 cup crunchy almond butter (non-gmo, no added oil, sugar, salt or preservatives)
1/4 cup agave nectar or maple syrup
2 1/2 teaspoons pumpkin pie spice blend*
3/4 teaspoon baking soda
3/8 teaspoon sea salt

GARNISH
Dust the top of the frosted cake with ground cinnamon.

________________________________________________________________

Prepare cashew cream glaze:
1) Place all the ingredients in a high powered food processor or blender and blend until smooth. A Nutri Bullet is a handy tool to use here if you have one. Cover and place the cream in the fridge for up to an hour while you make the cake.

Prepare the cake:
1) Preheat oven to 350.
2) Grease an 11x7 baking pan with ample coconut oil
3) In a small bowl, whisk eggs and set aside.
4) Mix all ingredients except the eggs together in a medium-sized mixing bowl. Add the eggs last. Stir to blend.
5) Pour the mixture into the baking pan.
6) Bake for 35 minutes or until a toothpick comes out clean. Allow cake to cool completely.
7) When the cake has cooled, spread the top with cashew cream.
8) Dust the frosted cake with powdered cinnamon and cut into squares.

*If you don’t have pumpkin spice blend, you can make your own using 1 1/2 teaspoons cinnamon, 3/4 teaspoon ground ginger, 3/8 teaspoon ground nutmeg and 3/8 teaspoon ground clove.

Lulu's Favorite Peanut Butter Biscuits

LULU’S FAVORITE PEANUT BUTTER BISCUITS

Yields 2-3 dozen, depending on the cookie cutter shape

Every winter, for the last 15+ years, we would make cookies for our dog Lulu and all of her puppy friends. We would host people at our house, who would drop in all day long on a Saturday in December to help us roll, bake and share as many cookies as we could make for all our 4-legged friends. Sadly we had to say good-bye to our 14-year-old beloved pet in 2016. We continue to make these as a tribute to her mischievous, curious and always ready to play self. I can still hear her crunching and smacking her lips as she swooshed her tail on the floor in long fast sweeps of excitement.

INGREDIENTS

2 tablespoons unrefined olive oil
1/2 cup organic peanut butter (just peanuts, no added oil, sugar or salt)*
1 cup water
1 cup whole wheat flour
1 1/2 cups white flour

________________________________________________________________

1) Preheat the oven to 350.
2) Combine the oil, peanut butter and water.
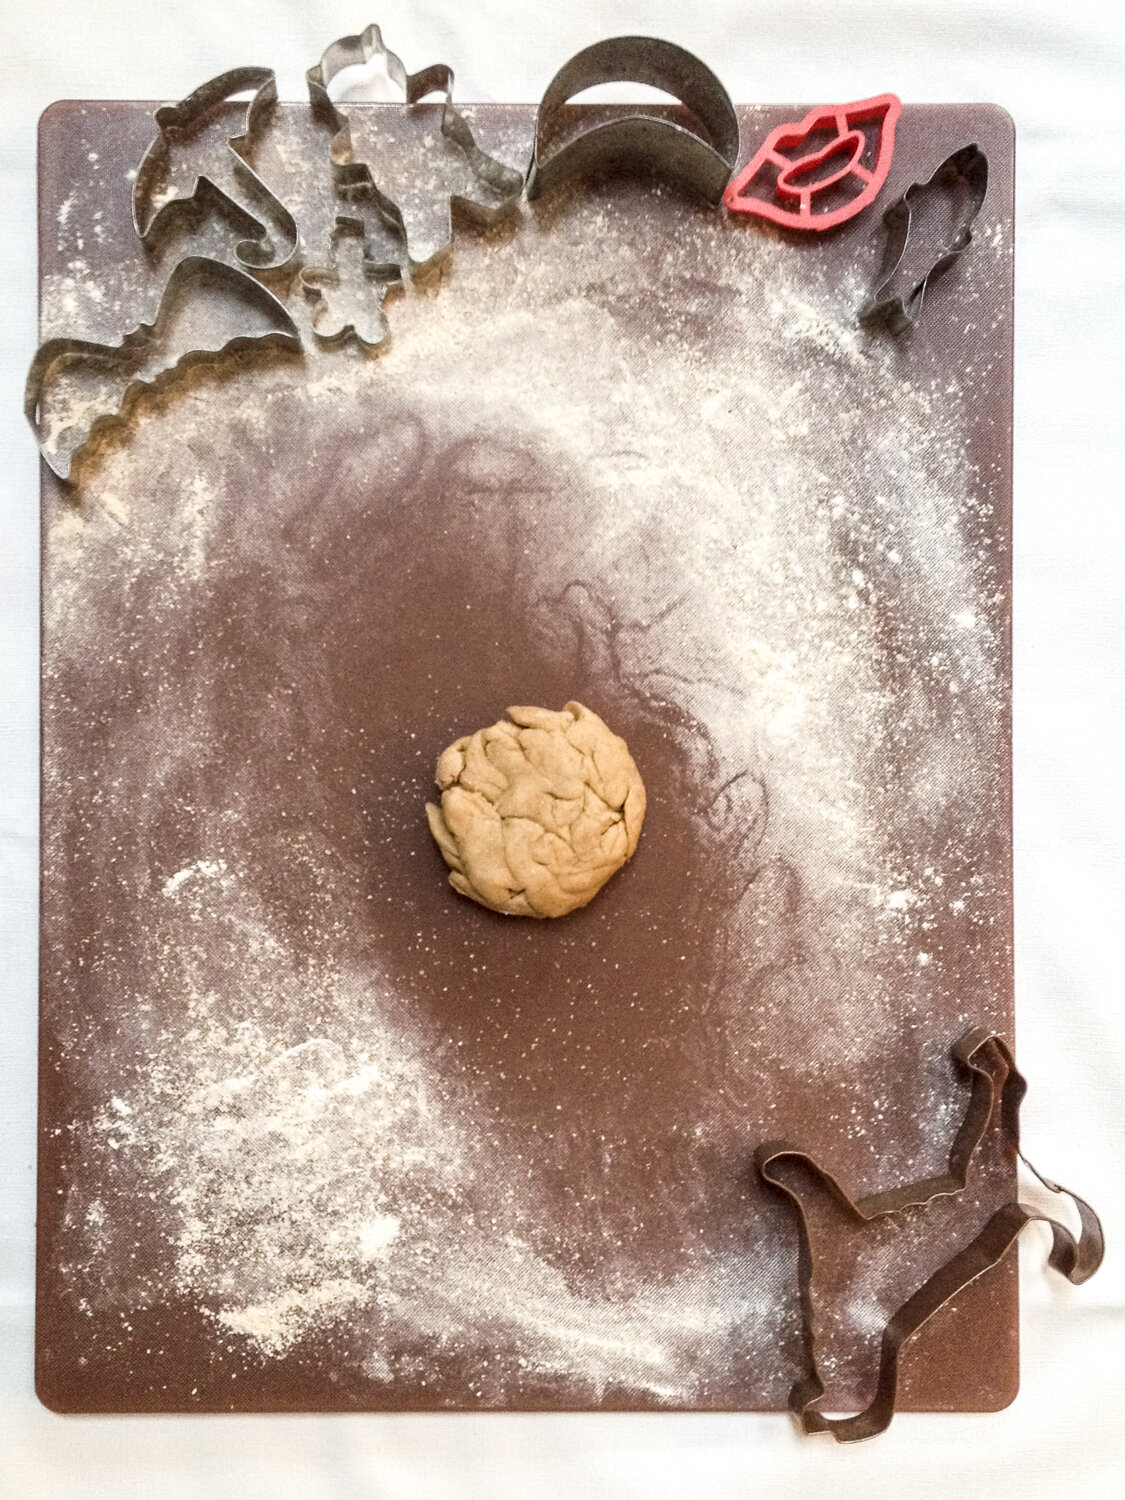
3) Add the flour, one cup at a time, and then knead into a firm dough. (Depending on the flour, you may need to add a little more flour or a little more water.)
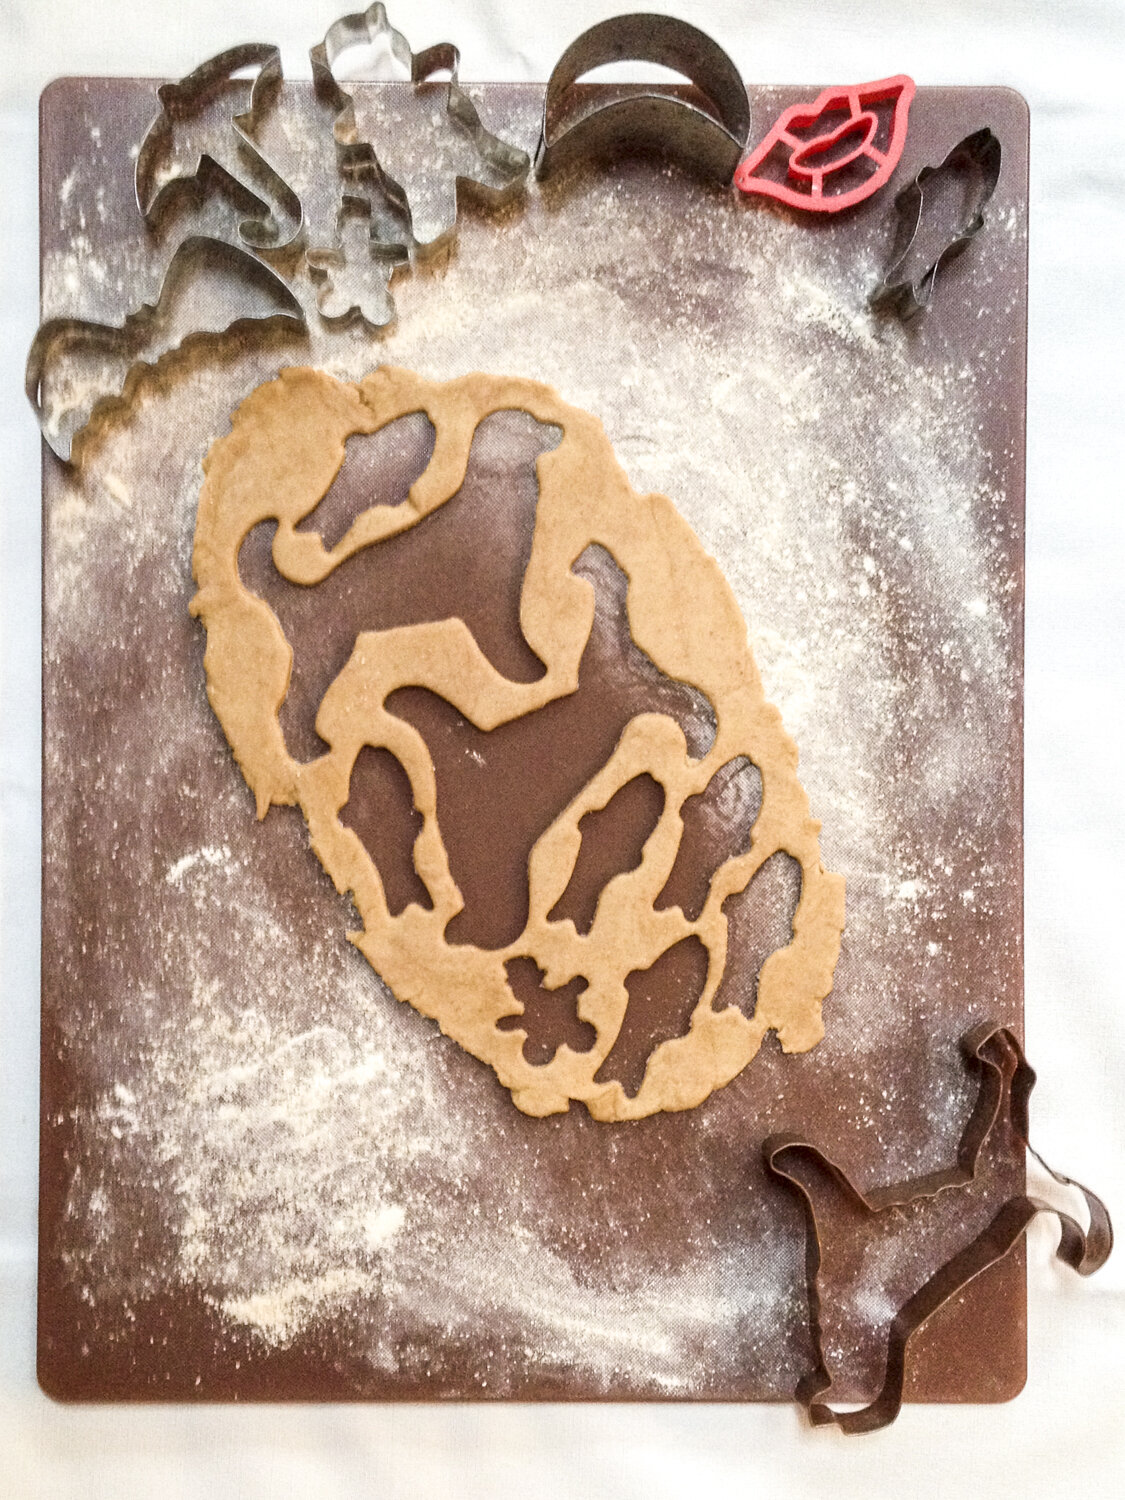
4) On a lightly floured surface, roll out the dough to ¼ inch thickness and cut biscuits with a cookie cutter. Alternately, use a knife to cut out your own shapes.
5) Place on an ungreased cookie sheet.
6) Bake for 17-20 minutes, until firm and golden brown.
7) Transfer to a wire rack to cool.

Lulu would have happily eaten the entire 3 dozen in one sitting, however, we liked to keep these love biscuits in the freezer for extended shelf life to enjoy for many months ahead.

*Important note - please do not purchase peanut butter with xylitol, which is sometimes added as a non-calorie sweetener. It is extremely toxic (in fact fatal!) to dogs!

8 TREASURE QUINOA SALAD

8 TREASURE QUINOA SALAD
Serves 4-6

I’ve made quinoa more than a hundred times, and every time I make it I’m humbled by what this tiny grain teaches me, which is to begin again, as though I’ve never made it before.

This quinoa salad is meant to be assembled and served at room temperature. I think of the 8 treasures as colors of the rainbow, each color representing an exquisite reflection of our soul and spirit. When I first began playing with color as an artist, I couldn’t believe how healing color could be for the soul. Think of this quinoa dish as a blank canvas, and you get to put in all the colors that resonate with you. There is a deep connection to red as a grounding color. And greens open the heart. Yellows reflect our power center (no, not the head, but the belly). Yellow is uplifting and brightening, like the sun. Purples are truly divine sparks that bring us into an elevated way of thinking. When you eat colors that are vibrant, radiant and more colorful, you open to your creativity and energy in a whole new way. This is one of those dishes that harmonizes with your needs in a deeply satisfying way, any time of day. 

quinoa-salad_nparisi_0049.jpg

INGREDIENTS

1 1/2 cups water
1 cup sprouted quinoa (or soaked quinoa)
Pinch of sea salt
1 organic lemon, zested and juiced
1/4 cup unrefined, cold pressed, extra virgin olive oil
½ teaspoon chunky salt
Few rounds of fresh ground black pepper
2 cups total of fresh colorful vegetables cut into bite sized pieces (think rainbow - red bell peppers, pink and white radishes, orange carrots, green peas, purple cabbage, yellow summer squash or corn are a few suggestions)
2 tablespoons minced shallot
1 heaping tablespoon chopped fresh ginger
2 tablespoons chopped fresh parsley
2 tablespoons chopped fresh basil
½ cup cooked small bean - like adzuki, lentil or black bean
1/4 cup toasted slivered almonds

Optional: balsamic vinegar

__________________________________________________________

  1. Bring water to boil in a kettle or small pot. Reduce the heat and keep at a simmer until ready to use. 

  2. Rinse the quinoa in a fine-mesh sieve to remove the saponin (bitter-tasting part). Allow your fingers to be playful with the grain as you rinse.

  3. Transfer quinoa to a medium-sized saute pan and dry roast over moderate heat. Stir constantly with a wooden spoon until the grain becomes aromatic and starts to gently pop. The color will change to a few shades darker and most of the water will have evaporated. 

  4. Lower the heat and carefully pour the hot water over the quinoa (do this slowly or it will boil over). Add a pinch of salt. Bring to a boil, lower heat, cover and simmer for 15 minutes. 

  5. Remove the pot from the heat and let sit for 5 minutes, covered. Remove the cover, fluff with a fork and set aside to cool.

  6. In a small bowl, whisk together the lemon zest, lemon juice, olive oil, salt and pepper. Set aside.

  7. While the quinoa is cooling, rinse, dry and cut 2 cups total of fresh colorful vegetables into bite-sized pieces. 

  8. In a large serving bowl, combine cooked quinoa, cut up rainbow veggies, shallot, ginger, parsley, basil, and cooked beans.  Toss the quinoa salad with lemon zest dressing and adjust the seasonings to taste. Feel free to drizzle with more olive oil or add a swirl of good quality balsamic vinegar. 

  9. Top with slivered almonds.

Chewy Almond Butter Cookies

almond_butter_cookies_0028.jpg

I went through a phase where I ate almond butter maybe 2 times a day, every day. Sweet dishes, savory dishes, in smoothies, on it’s own. Always. It was a delicious, albeit expensive habit. What resulted from this obsession was experimenting with lots of cookie recipes involving my very favorite pantry item. After many iterations, I landed on this super rich, highly chewy version. A perfect holiday treat. Enjoy!

NOTE: While I love to buy organic pantry items whenever possible, I often buy almond butter that is not organic because it is such an expensive product - and for this recipe, you’ll need to use 1 - 2 jars depending on the jar size. That said, I always buy almond butter that is non-GMO, has no added oils or sugars, and no added salt. Peanut butter, on the other hand, I always recommend buying organic for a few reasons: it’s easier to find, significantly cheaper than organic almond butter, and peanuts have a higher tendency to go rancid.


CHEWY ALMOND BUTTER COOKIES
Recipe by Nicola Parisi

Yields 3 dozen cookies (plus a few spoonfuls of batter to snack on)

Wet:
1 1/2 cups crunchy almond butter (unsalted, no added sugar or oil)
1/2 cup smooth peanut butter (organic, unsalted, no added sugar or oil)
1/4 cup pure maple syrup
1 cup coconut sugar
½ cup unsweetened almond milk
3 teaspoons vanilla extract

Dry:
1 cup chickpea flour
2 teaspoons baking soda
½ teaspoon cinnamon
½ teaspoon sea salt

1) Preheat the oven to 350
2) Combine all wet ingredients in a bowl and mix
3) In a separate bowl, mix dry ingredients
4) Incrementally combine dry ingredients to the wet
5) Line 3 baking sheets with parchment paper
6) Use a spoon to scoop out small amounts of dough. Place 12 dough balls evenly on each baking sheet.
7) Gently press the dough without completely flattening. You can use your fingers or the back of a fork.
8) Place in the oven for 8-10 minutes. Depending on how evenly your oven cooks, you may need to rotate the trays. Cookies may appear undercooked to the touch. Check for doneness by lifting one of them with a spatula and checking the bottom. If the bottom is browning, remove from the oven.
9) Let cool for 10 minutes on the cookie sheets. The tops of the cookies that appeared soft at first will have firmed up after cooling.

Orange Rosemary Digestive Tea

garden-june2018_0326.jpg

‘Tis the season for tea! I drink tea almost daily, no matter the time of year, but I especially crave it in cooler months - to warm my hands and body, and also to help stimulate digestion. This tea is specifically potent and helps to stimulate hydrochloric stomach acid, the acid that helps to break down your food. Recommended to drink 1/2 cup about a half hour before meals. Perfect for the holiday season when overeating seems even more common. To your health and vibrancy!

ORANGE ROSEMARY TEA

Serves 4

2 cups spring water

2 tablespoons fresh rosemary leaves

2-3 pieces fresh organic orange peel


Bring water to boil in a glass or stainless steel pot. Remove from heat and add ingredients. Cover tightly and steep for 15-20 minutes. Serve warm.

Chickpea Thai Curry w/ Seasonal Veggies & Sprouted Quinoa

This yummy curry dish is vegan and gluten-free with healthy fats, gut-healing spices and tons of fresh vegetables. This is one of those recipes that can be repurposed, no matter the time of year, so feel free to adapt it to reflect veggies that are in season at your local market. Eating fresh, seasonal and local vegetables supports your body’s needs by providing brighter and more vibrant phytonutrient content. It also connects you to the energetic rhythms of nature.

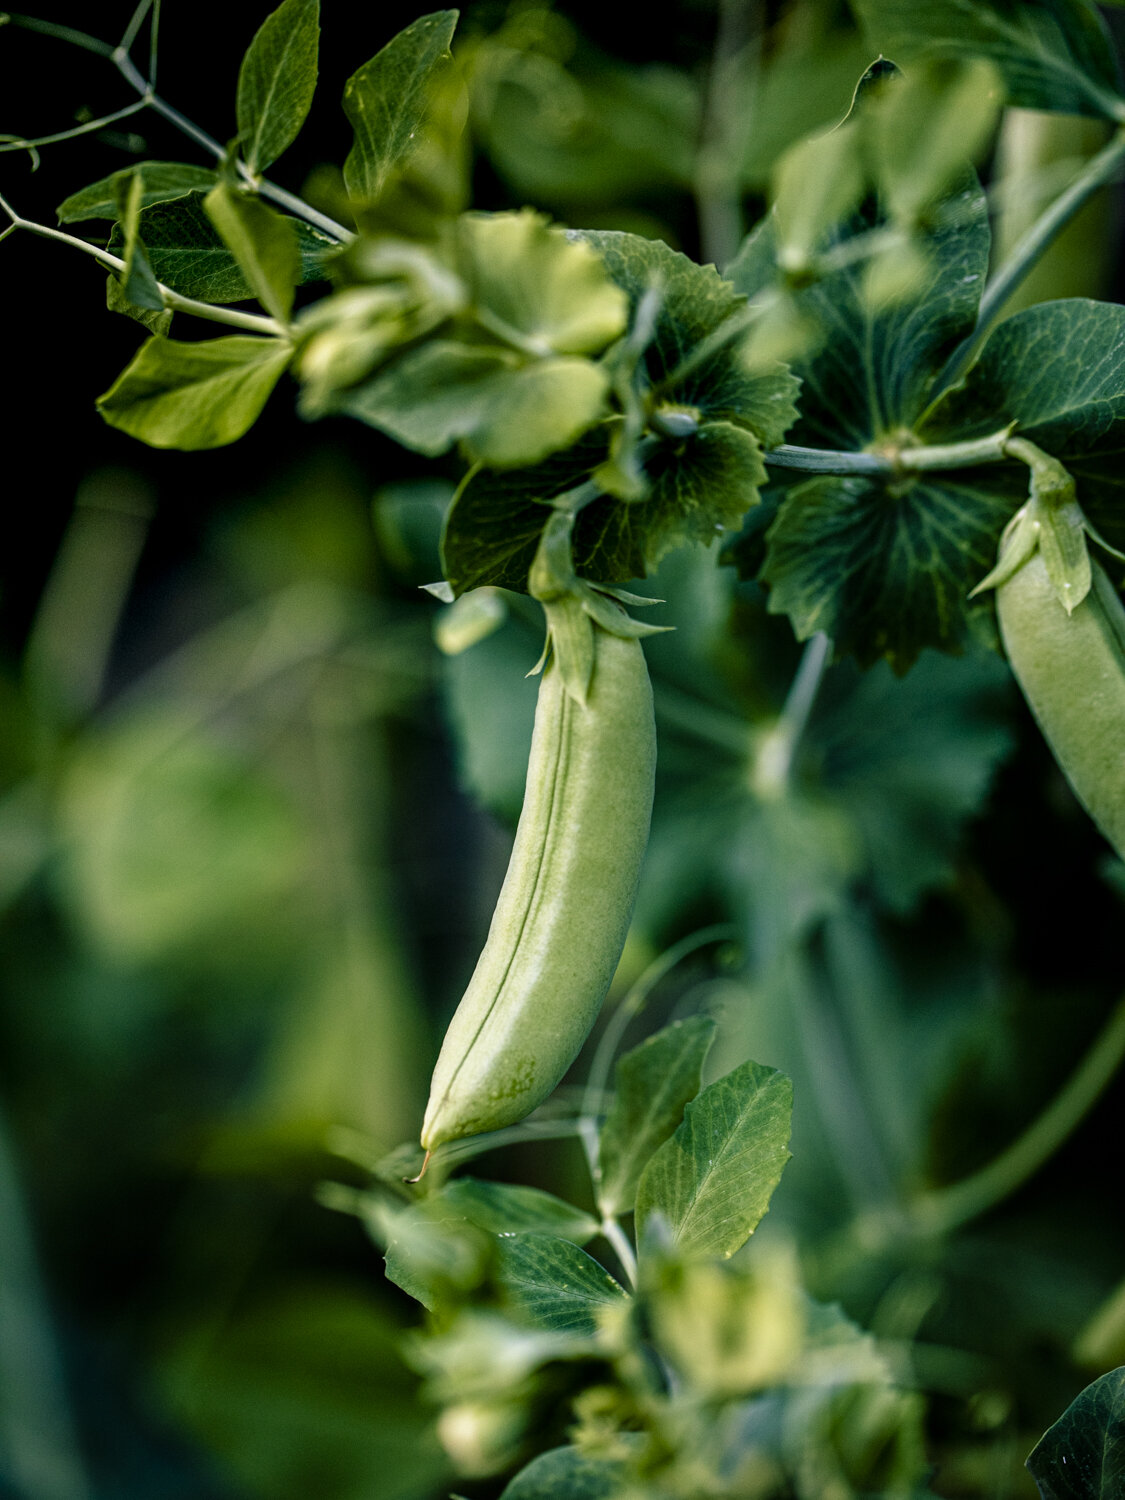
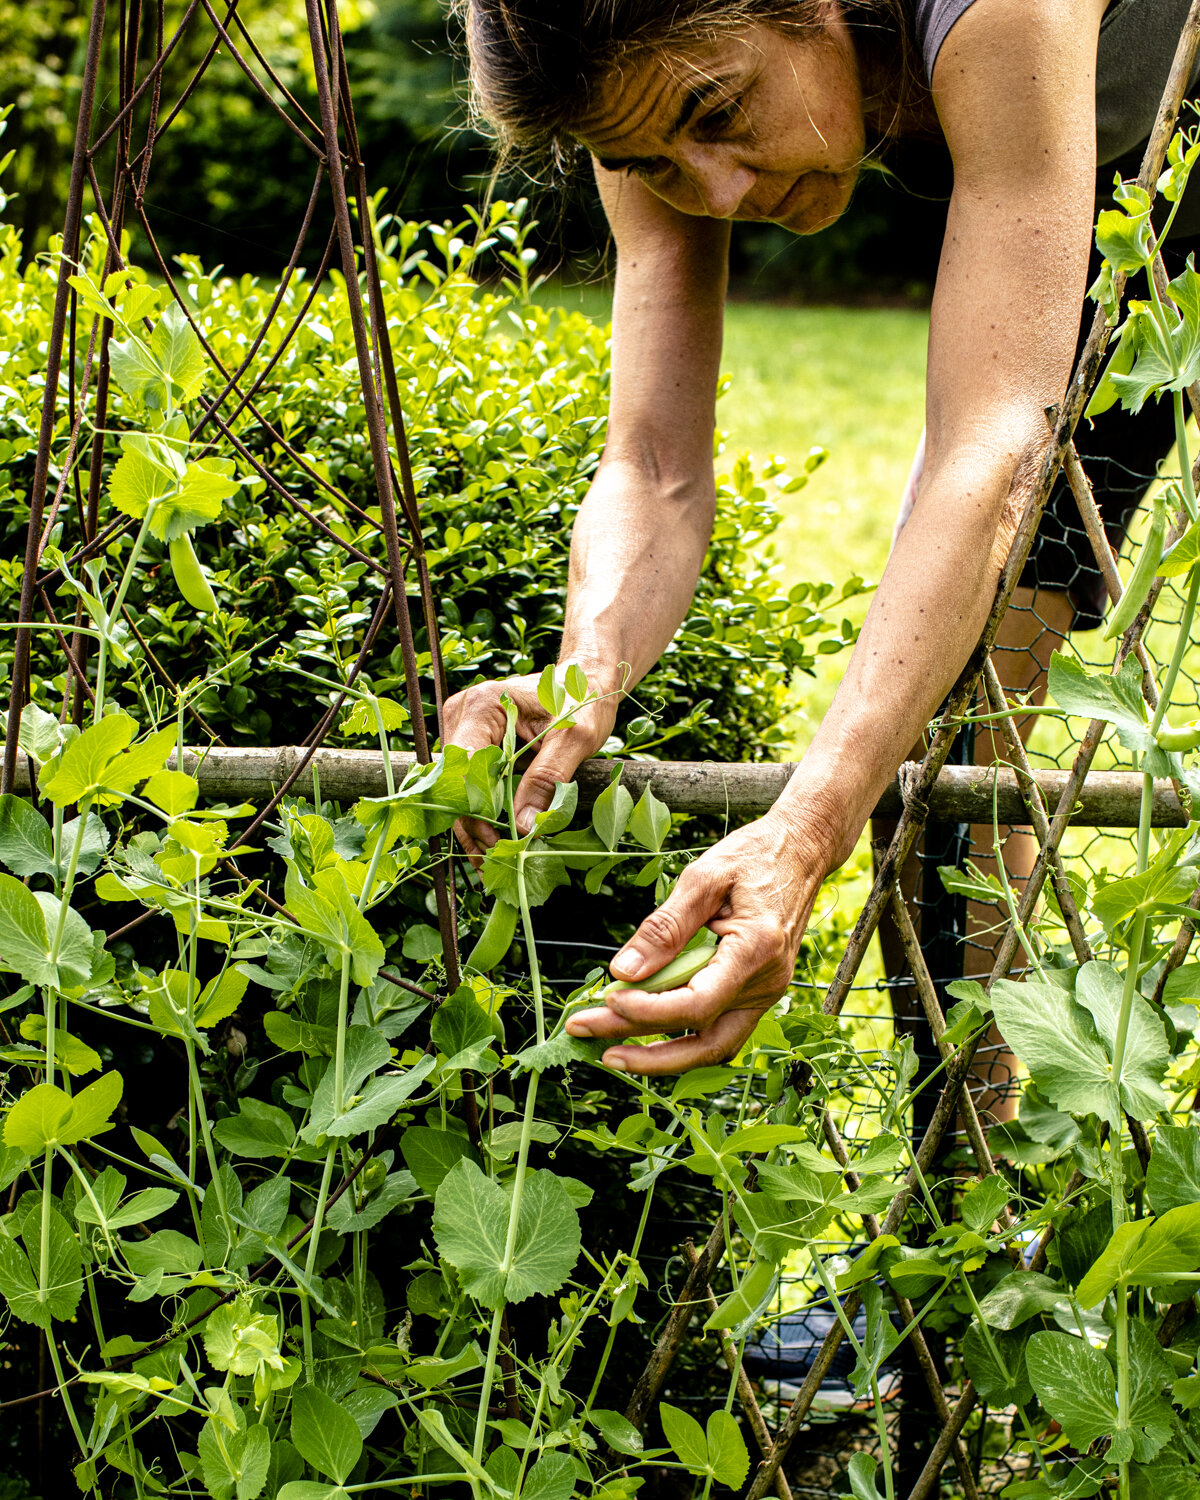
Sometimes I’ll use sunchokes (Jerusalem Artichokes) instead of potatoes, or add in some fresh late summer heirloom tomatoes. Snap peas add a wonderful crunch when added in during the last few minutes of cooking, as does fresh organic corn kernels. You can also try purple cabbage for a mauve colored treat. Any of the winter squashes work well too.

If you have the time, I always recommend pre-soaking your grains and dried beans for optimal digestion and health benefits. The recipe that follows is a simpler version, with bean/grain soaking instructions included subsequently.


Chickpea Thai Curry with Seasonal Veggies & Sprouted Quinoa
Serves 6

thai-coconut-veggie-curry-take2_0051.jpg

Chickpea Curry Ingredients:
2 large carrots
4 small purple or red potatoes
1 medium zucchini
3 heaping cups broccoli (crowns and peeled stems)
1 cup fresh shelled peas
1 tablespoon unrefined coconut oil
1 medium yellow onion, diced
4 cloves garlic, minced
2-inch piece fresh ginger, finely chopped (about 2 tablespoons) 
3 heaping tablespoons curry powder
1/4 teaspoon fresh ground smoked black pepper***
1 teaspoon Himalayan salt
1/4 cup water
2-13.5 ounce cans full-fat unsweetened coconut milk
1/2-1 cup water
1 1/2 cups cooked chickpeas 


***Mountain Rose Herbs is an online resource for smoked pepper. Ok to sub regular black pepper if you can’t find smoked


Quinoa:
1 1/2 cups water
1 cup sprouted red or white quinoa (or soaked quinoa, see above)
Pinch of Himalayan salt

Optional Garnish:
Handful of fresh chopped parsley or cilantro

__________________________________________________________________

Prepare Chickpea Vegetable Curry:

  1. Scrub potatoes and carrots thoroughly. Rinse zucchini and broccoli. Trim tough stems and cut the vegetables into bite sized pieces. (No need to peel the carrots and potatoes if they are organic. There are a lot of vital nutrients contained in the skins.) Set aside.

  2. In a large stockpot, warm the coconut oil over medium-low heat until melted. Add the onion. Stir and cook until the onion is translucent, about 5 minutes. (Keep an eye on the onion; you may need to lower the heat to keep it from browning.)

  3. Add garlic and ginger. Sauté for 2 minutes.

  4. Stir in the curry powder, smoked black pepper, and salt. Add about 1/4 cup of water to the mixture to moisten. Stir and cook for 1 minute.

  5. Add coconut milk and give everything a good stir to blend before adding the potatoes and carrots. Cover and cook for 10 minutes. Add broccoli, zucchini and shelled peas. Stir to coat well, adding more water to the pot if needed to cover the vegetables. Cover and cook for approximately 10-12 minutes.

  6. Add cooked chickpeas to the pot. Stir and cook until done, about 10 minutes.

Prepare quinoa:

  1. Bring 1 1/2 cups water to a boil in a kettle or small pot. Reduce the heat and keep at a simmer until ready to use

  2. Rinse the sprouted grain in a fine mesh sieve to remove saponin, a bitter-tasting and protective coating that is inherent in the grain. If using soaked grain, drain and rinse well after soaking.

  3. Transfer quinoa to a medium-sized sauté pan and dry roast over moderate heat. Stir constantly with a wooden spoon until the grain becomes aromatic and starts to gently pop. The color will change to a few shades darker and most of the water will have evaporated.

  4. Lower the heat and carefully pour the hot water over the quinoa (do this slowly or it will boil over). Add a pinch of salt and stir to combine. Bring to a boil, lower heat, cover and simmer 15 minutes.

  5. Remove the pot from the heat and let sit for 5 minutes covered, then fluff with a fork.


Serve chickpea curry in a shallow bowl over a scoop of quinoa. Enjoy with a garnish of chopped fresh parsley or cilantro.


Soaking Beans & Sprouting Grains

Basic Garbanzo or Chickpeas
1 full cup dry bean = 2 1/2 cups cooked

1 cup dry chickpeas
Water to soak
Water to cook
5 inches kombu (sea vegetable)

1) Measure, sort and rinse the beans.
2) Place beans in a medium saucepan. Add water to cover by 3 inches. Cover the pot and soak for 6-12 hours.
3) Discard the soaking water and rinse the beans
Add fresh water to the pot to cover the beans by 1 inch. Add kombu.
4) Bring the beans to a boil over high heat for 15 minutes. Skim off the thick foam that rises to the surface (this will make the beans easier to digest). Replace any evaporated water removed by the foam.
4) Cover and reduce the heat to medium-low. Cook for 1 1/2 - 2 hours, adding more boiling water if necessary


Soaked Quinoa
1 cup dry grain = 3 cups cooked

1 cup dried red quinoa
2 cups warm water to soak
2 teaspoons apple cider vinegar or fresh lemon juice

1) Wash, rinse and drain quinoa thoroughly, rubbing the grains together to remove any dirt or bitter saponin.
2) Place the rinsed quinoa in a large mixing bowl or pot and cover with lukewarm water
3) Add the acidic medium - either apple cider vinegar or fresh lemon juice
4) Stir and soak, uncovered at room temperature for 2-4 hours.